Businesses are taking digitization seriously. Many companies have moved from paper to digital. If you haven’t, now is the time to go paperless.
But even after you transition to a paperless office, expect an occasional influx of paper. To stay paperless, you’re going to have to convert those physical documents into digital files and integrate them into your paperless office system.
Scanning each paper record is tedious but necessary.
Plan out a systematic process to scan documents properly. If the quality of the scanned image is low, the information may not be legible. That equals a loss of information for your organization! Quality and speed of capture are important. Getting it right is done in three steps.
How to scan documents properly
Let’s look at a few tips and tricks to scan documents properly for best results:
Step 1: Choose the right type of scanner
To do any job well, you need the right equipment. Scanning is no different. Specialized scanners are available for a range of different requirements.
For example, the Zeta Book Scanner is a non-destructive, easy-to-use scanner designed to scan bound books. A plug-and-play device, the Zeta is easy to install in libraries, schools, or publication houses that require book scanning.
Need to scan cheques? Specialized cheque scanners used by banks and financial institutions scan large volumes of cheques every day. These scanners produce high-quality digital images at high speed, automatically read the cheque’s MICR information, and stamp cheques using the built-in imprinter.
Do you have a collection of microfilms to digitize? Use a Microfilm scanner to read, scan, and save images from roll microfilm, microfiche, aperture cards, or similar film-based materials.

Tired of fumbling with large drawings for construction, facilities, and engineering teams? Invest in a wide-format document scanner designed for large-format engineering drawings, posters, and documents.
Before you invest in a scanner, identify your per-diem document volume and the required scanning speed. For example, if you expect to scan over 75,000 pages per day, a scanner that handles 1,000 pages per hour won't do. An under-par scanner is a limitation!
Talk to MES Hybrid Document Systems about our comprehensive range of quality scanning hardware solutions for any document format, volume, and speed. And if you don’t want to invest in professional scanning equipment, use a professional scanning company to get the job done right!
Step 2: Prep documents for scanning
Preparing documents for scanning is a manual process. Streamline this process for best results. Follow these tips for properly-prepped documents:
- Remove all paper clips, staples, and binder clips.
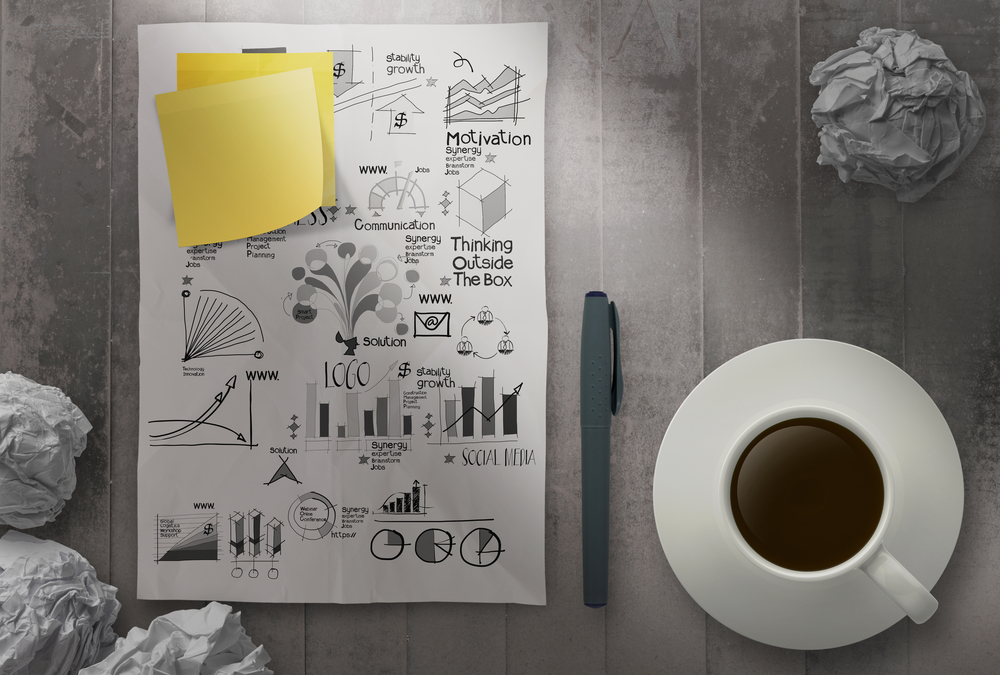
- Remove sticky notes
- Check the corners of the pages and straighten any crumpled edges.
- If any of the documents have a rip or tear, apply transparent sticky tape to repair them.
- Mount undersized documents on a separate sheet of paper.
- If the text on some documents is too light, photocopy the document first and adjust the contrast to get a more legible copy. Use this darker photocopy for scanning.

Step 3: Process scanned images properly:
After you scan a document, the next step is to extract the information, convert it to the proper file type, and put the original paper document in your archives. Follow these tips to scan files properly:
- Check the scanner output quality. Conduct a manual inspection at the page level to ensure the final digital files are legible and there is no loss of information in the conversion process. Send any files that are not easy to read for a rescan.
- Use image enhancement techniques available with the scanning software. Crop, rotate, deskew, and despeckle images to improve the quality of the final images.
- Convert your documents to the right file type. Identify and use the format suitable for your requirements. Choose from file formats such as pdf, .gif, .jpg, and .tif. Set your document conversion software to get the correct format scanner output.
- Use Optical Character Recognition (OCR) software to convert images to electronic text where required. Choose an advanced OCR engine to give you accurate conversion.
- Make sure that digital documents are properly indexed and searchable.
That’s how you scan documents with maximum efficiency. You’re ready to get the most out of your paperless office!
Follow the systematic steps we’ve outlined above to digitize paper documents on an ongoing basis (day forward). Then take the next step: install reputable document management software (DMS) to handle all of these tasks painlessly. A DMS provides structure to the way you file, store, retrieve, and secure your critical documents. It makes business easier!
We’re proud to offer a range of document scanning and content management products designed to meet your needs and budget. Contact us today for a free quote